Table of Contents
Quick Solution to Export Exchange Online Mailbox to PST File
Microsoft does not provide special tools for exporting Exchange Online mailboxes in PST format. However, there is an eDiscovery export tool provided by Microsoft, but its sole purpose is to perform search operations on mailboxes. In addition, it is difficult to implement because it requires technical knowledge and is time consuming.
Therefore, it is very difficult for users to back up Exchange Online emails in PST format. This article describes two ways to export a mailbox. One is the manual method, which uses PowerShell commands to export Exchange Online mailboxes to PST. The second method is a third-party tool that is easier to use and less time consuming than the manual method.
Automation tools are more convenient and easier to use than PowerShell commands, so let’s talk about that utility first.
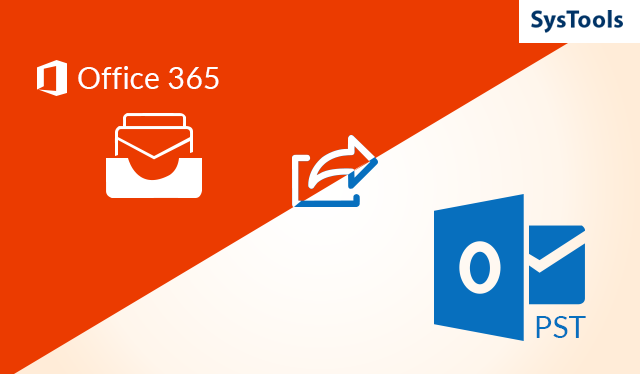
Quick Way to Export Exchange Online Mailbox to PST
If you’re looking for a tried and tested solution to store your entire mailbox data on your system, try the Office 365 Mailbox Backup Tool. This is the highest rated utility and is recommended by many experts to complete the task. The software ensures that all the data in your mailbox is safely exported without data loss.
You get the option to save all items in the mailbox to your system. This means that users can export Office emails, calendar and contacts in a seamless manner. There are a few other features that will help users to make the process easier and uncomplicated.
Working Steps of Tool to Export Exchange Online Mailboxes to PST
- Launch this software and Sign-in into your Office 365 mailbox.
- You can also choose specific set of folders from the software interface.
- Hit browse button to browse and select destination location on your system.
- Now, choose PST format as your export option to export Exchange Online mailbox to PST.
- Finally, click the Start button to start backup process.
Use PowerShell Commands to Export Exchange Online Mailbox to PST
The whole process of exporting the mailbox is a complex one when it is done with PowerShell commands. Follow the process carefully and make sure that all steps are done correctly and without errors.
Step 1: Establish Exchange Server Connection
“$UserCredential = Get-Credential”
In this command, you must enter the Office 365 mailbox credentials, including the username and password that are listed in the Windows PowerShell Credential Prompt box.
Then run the following sequence of commands:
“$Session = New-PSSession -ConfigurationName Microsoft.Exchange -ConnectionUri https://outlook.office365.com/powershell-liveid/ -Credential $UserCredential -Authentication Basic –AllowRedirection”
“Import-PSSession $Session”
Step 2: Assign Export Role to Mailbox using PowerShell
Here, this command “supportteam@teamsystools.com” gives full access to “techsupport@teamsystools.com“.
“Add-MailboxPermission – User supportteam@teamsystools.com -Identity techsupport@teamsystools.com -AccessRights FullAccess -InheritanceType All”
Step 3: Run Microsoft Outlook for New Account
You should now open the Outlook app with techsupport@teamsystools.com, while supportteam@ teamsystools.com is available in the left pane. This consent process sometimes takes seconds or minutes to complete successfully.
Step 4: Review Outlook Configuration Settings
Make sure Microsoft Outlook is configured and working properly to download all emails. Execute the following steps:
- Navigate to File >> Info Page >> Account Settings.
- Click on Account Settings again to select the account.
- Hit Change button and ensure that Use Cached Exchange Mode is enabled.
Step 5: Export Exchange Online Mailbox to PST Using Import/Export Wizard
You can export supportteam@teamsystools.com account to PST file using the Import/Export Wizard available in Microsoft Outlook.
Step 6: Make Sure that Export Job was Completed Successfully
Now you need to check if all your mailbox data is exported to PST file. You can verify this by comparing the mailbox size on the server with the PST file. If the size of the mailbox on the server is similar to that of the PST file, the process was successful.
Step 7: After Successful Completion of the Process
Now you need to remove all those mailbox permissions that you assigned in the previous process. For that, execute following command:
“Remove-MailboxPermission -User techsupport@teamsystools.com -Identity supportteam@teamsystools.com -AccessRights FullAccess”
Step 8: Quit PowerShell Session
In the last step, you need to close the session you created in the first step, for that, run the following command:
“Remove-PSSession $Session”
Final Verdict
Since data is one of the most important parts of users’ lives today, it is important that they keep a backup of their data on their system. Users can export Exchange Online mailbox to PST via PowerShell or using automated utility as mentioned above. Since PowerShell commands are difficult to understand and implement, it is recommended that you go for a third-party tool and export your data with ease.